Posts in Category: Free Inquiry
This is the category to apply to your Free Inquiry posts.
Free Inquiry #3 – Kahoot! Tutorial
Summary
When I was a high school student, I always loved when my teachers included Kahoot! in their lessons, so this was a tutorial that I was really interested in doing. In my opinion, gamification is one of the most powerful ways to enhance student engagement and to bring fun activities into the classroom.
I took the Bronze certification course, which teaches educators how to find ready made Kahoot! question sets to be used in the classroom. The first thing I noticed was just how many different types of questions can be made using this platform. There are options to make puzzle, quiz, scale and open ended question types (and many more).
While I plan to make my own Kahoot! question sets in order to better reflect my class content, I was very excited to see that there are ready-made question sets available as well. This feature could be very useful as an additional tool if a class runs unexpectedly short.

Above are some of the uses for which Kahoot! can be implemented. I think that by using Kahoot! in these areas, lessons could be made more engaging, more exciting, and more diverse, which would help to hold students’ attention in the classroom.
Reflection
Kahoot! is a platform that students typically find fun and exciting to use. It has various uses and can be implemented strategically to meet the learning needs of various individuals within a classroom.
Having said that, Kahoot! could potentially be stressful for students who are easily embarrassed because of the sometimes competitive nature of the platform. One way around this is to use randomized names rather than having students put in their own names; this can help to keep the players and their scores anonymous so that students aren’t made to feel uncomfortable around their peers.

After completing this tutorial, I now feel confident using the “Discover” page to find and assign ready-made Kahoots in my future classrooms. From here I plan to continue my learning so that I am able to create my own Kahoot! questions to be used in my science lessons.
Free Inquiry #2 – Mentimeter
Summary
I completed the Mentimeter tutorial because I wanted to learn more about different presentations styles. I am mostly comfortable using prezi and powerpoint but I wanted to explore a more interactive mode of presentation. I learned about the different types of slides that can be created using Mentimeter as well as the different functions that are included in this platform.
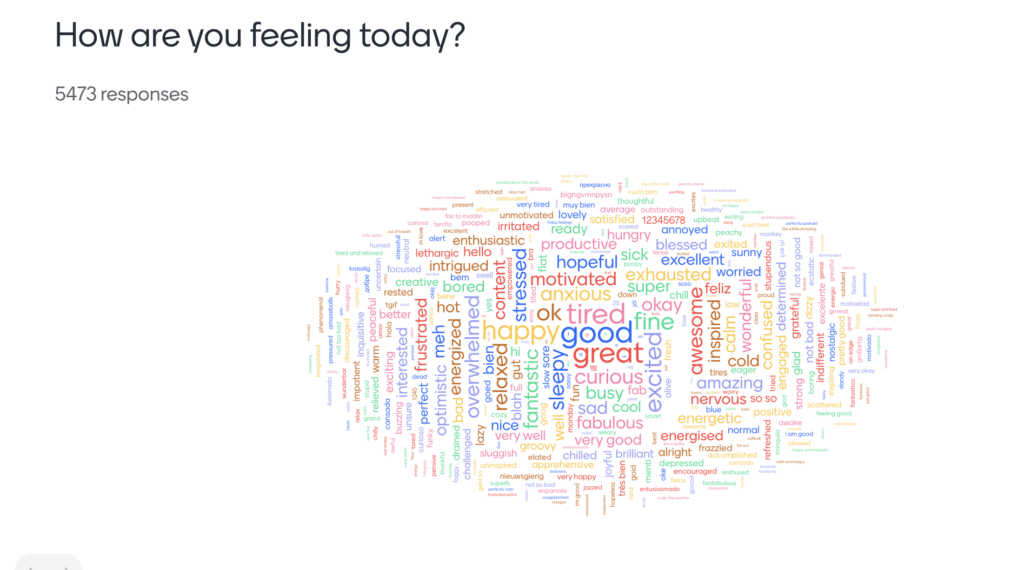
Here is an example of a word cloud, one of the many Mentimeter features.
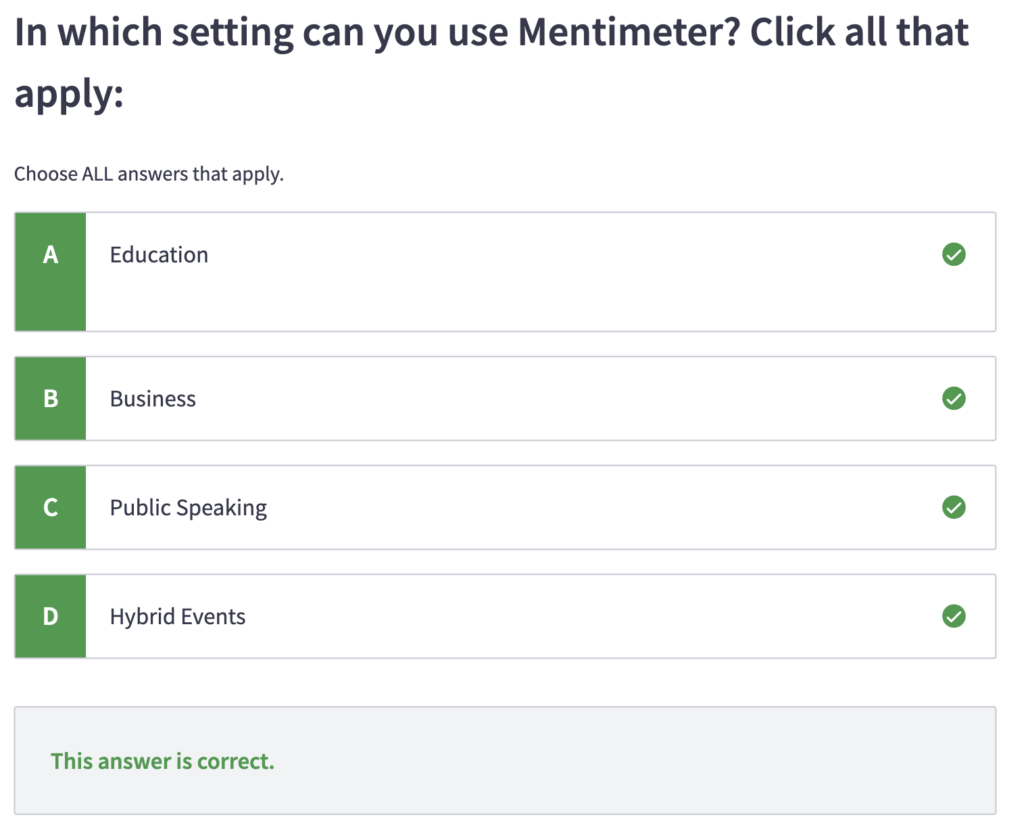
I learned that having a Mentimeter account could be useful for various purposes. This platform is very adaptable for different audiences and environments.
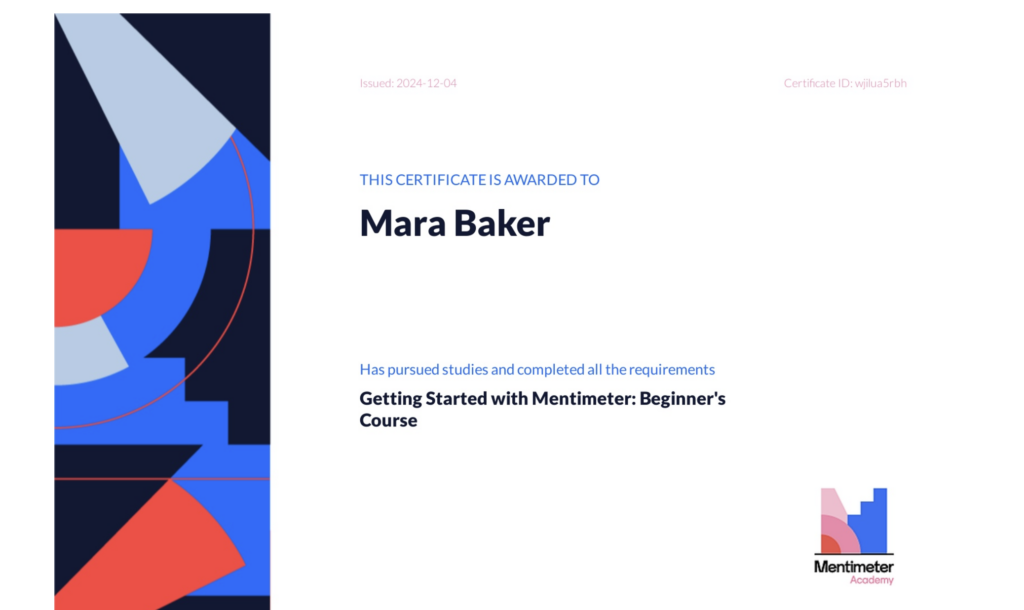
After completing the quizzes, Mentimeter issues a certificate of completion. After completing this tutorial, I feel prepared and excited to start engaging with students using this new and engaging presentation format!
Reflection
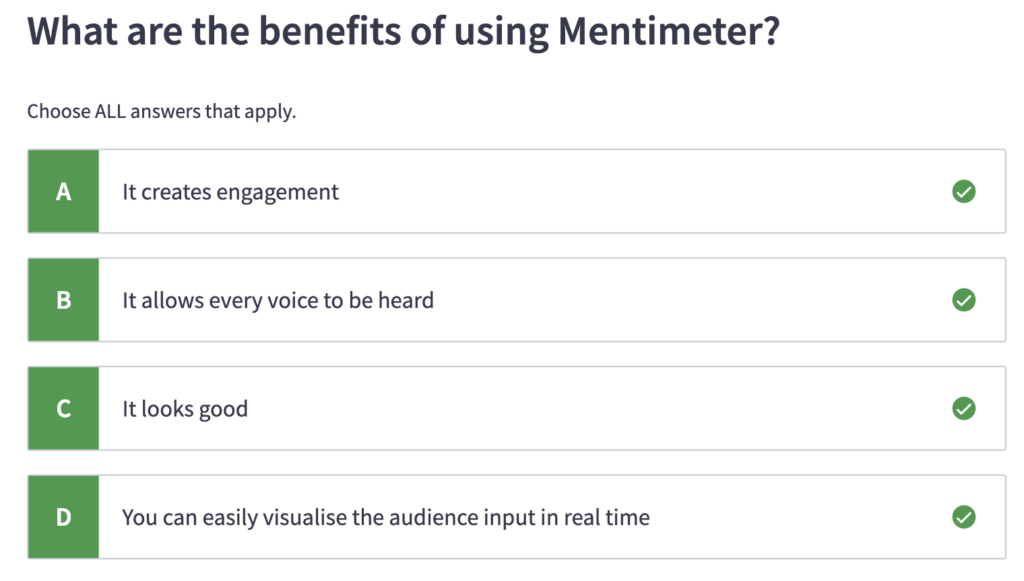
It is clear to me that this platform can provide many benefits to the classroom environment. I think it could be really useful as a way of assessing student comprehension during lessons. I also think it could be a great way to get students engaged, and the anonymous nature can allow more timid students to feel comfortable sharing their opinions and ideas.
My only concern for this platform is that, like all technology, it requires that students have some understanding of technology and how to use it. It also requires that students have access to some kind of device which, depending on school policies, could be an issue in light of the new cell phone ban in British Columbia.
Key Takeaways
Mentimeter is a useful platform that could bring many advantages to the teaching environment. It brings an interactive element to the classroom and encourages student participation and engagement. However, students should be made familiar with the platform and how to use it, and, depending on their school’s specific cell phone policy, teachers may need to request computer carts in order to use this platform in their classrooms.
Free Inquiry #1 – Minecraft Education

I decided to try the ‘Eukaryotic Cell Tour’ on Minecraft Education. I thought this was a really cool program that could be used either to teach students about the cell, or alternatively, students could also use Minecraft Education to build their own cells with organelles.

Students need to go around the world and talk to different ‘technicians’ around the tour to learn more about the organelles in a eukaryotic cell.

Each technician also gives the student part of a code. Once the code is decoded, the students unlock the ability to fly around the cell. Some technicians will tell you the code directly if you ask them, while others will not. Students will have to ask the technicians questions about the organelles within the cell in order to find all of the components of the code.
Once you are able to fly, you are able to get an even better view at the organelles within the cell, which incentives the students to put in the effort to find the code and learn to fly.
This is just one example of the many different lessons that are available on Minecraft Education, but I was able to get a good idea of the strengths and weaknesses of using this program.
Strengths
- Highly visual, allows students to interact with objects and visualize concepts that might otherwise seem abstract.
- Low cost and does not require many materials.
- Many lessons are already provided and ready to go, can save time and reduce workload.
Weaknesses
- Has a bit of a learning curve, students who already know how to play Minecraft will find it easy to navigate this program, while students who have not might find this more difficult.
- Visuals are not realistic
- Some of the lessons have small issues, buttons that aren’t clickable for example. Might need to make your own lessons if you are particular about that type of thing.
- Requires access to computers that are able to run Minecraft
Free Inquiry – Getting Rolling..
This is where you share your updates and creations for Assignment 1: Free Inquiry Project.